Search This Blog

Translate

Sunday, 12 May 2013

Six Months of Softies month 3

I received my latest "Six Months of Softies" pattern this weekend and I wasn't feeling like getting out the sewing machine after running around town all morning so I decided to work on it as it is a hand sewn toy this month. This is what I got done on it this afternoon.


It is much bigger than I thought it was but that is a good thing! I hope it turns out as nicely as the ones I have seen pictures of. I still have to make the toy from the second month as I was busy working on something else when it arrived!

Thursday, 9 May 2013

It's for the Birds!

I have been waiting for today to arrive. It's my day on It's for the Birds blog hop. 

Thank you so much to  
and 
for all the hard work they have done to organise this blog hop.

Also thank you to our sponsor

Clothworks


Ever since I signed up for the blog hop I have been surrounded by inspiration.
 In my garden


on my calendar

in the craft magazines I was searching through to find another pattern 

and a gift from a friend.

There were a few things I had been eyeing off at my favourite sewing shop too, so this blog hop gave me the perfect opportunity to buy them and make them. I have fallen in love with the Teddlywinks range of birds. So my first project was this Redwork wall hanging.


Then I started an appliqué 

but I am just not that interested in appliqué after recently completing a very large quilt using this method.
Part of the quilt which is a surprise for someone so you can only have a sneak peek!


So instead I made these two bags. I experimented a little with these making one with pellon wadding and the other with bag wadding. It was interesting and both waddings have their pluses and minuses.

I was hoping to get one of these Funky Friends made 
but unfortunately other things got in the way

Maybe I will do something with this too after being inspired by Bente on Tuesday.


Thanks for visiting my blog and don't forget to visit the other participants in the blog hop for lots of wonderful and interesting projects.

Thursday, May 9


Wednesday, 8 May 2013

WIP update!

Just a little post to show you what I am working on at the moment.

I have a quilt to bind
Can you guess what it is?

I cut out this quilt which is for a friend.

I am helping out a friend with this quilt, who doesn't have time to finish it at the moment.

And finally I am finishing up my projects for the "It's for the Birds" blog hop, but you will have to come back tomorrow to see those projects. There is some wonderful work going on there  I am just about to head over there and check out today's group of wonderful creations. Here are today's links just in case you want to join me!

Wednesday, May 8


and don't forget to see what everyone else is up to at 

Tuesday, 7 May 2013


It's for the Birds blog hop started today. I have just been visiting the very creative people who have been making things for this blog hop and there are some amazing creations out there. If you have time check them out!


Tuesday, May 7


Wednesday, May 8


Thursday, May 9


Friday, May 10


Monday, May 13


Tuesday, May 14


Wednesday, May 15


Sunday, 28 April 2013

Quick and Easy Camera Bag

I wanted a camera bag for my point and shoot camera just to give it a little added protection so I put this one together. It is ever so easy and quick to make.

Step 1.

Measure your camera.

Step 2.

Add allowance for the width of your camera, I added 2 inches. Add 2 inches to the length then double it. You now have the size of the fabric you need to cut. Cut 1 in the fabric for your bag and one for the lining, also cut one this size from iron on interfacing. To add a little more protection cut one from some sort of wadding in the thickness of your choice. Because I had already had a camera broken in my handbag I went for "inn-control plus, the superior batting alternative, double-sided fusible to save you time."(quote from the bag)

Step 3.

Sandwich the wadding between the outer bag fabric and the iron on interfacing, and iron. If using inn-control plus iron both sides making sure you iron along the edge of the wadding to secure it well.

Step 4
Fold in half right sides together and pin both pieces.


Step 5 
Sew along both sides of both pieces. Leave a small opening in the bag outer in the area without wadding for the cord or ribbon.

Step 6
Put the lining and bag outer together right sides together. You may want to pin them together so they stay in place.

Step 7
Sew the top together leaving an opening to turn the bag through. Turn the bag right side out.

Step 8
Ladder stitch the opening closed.
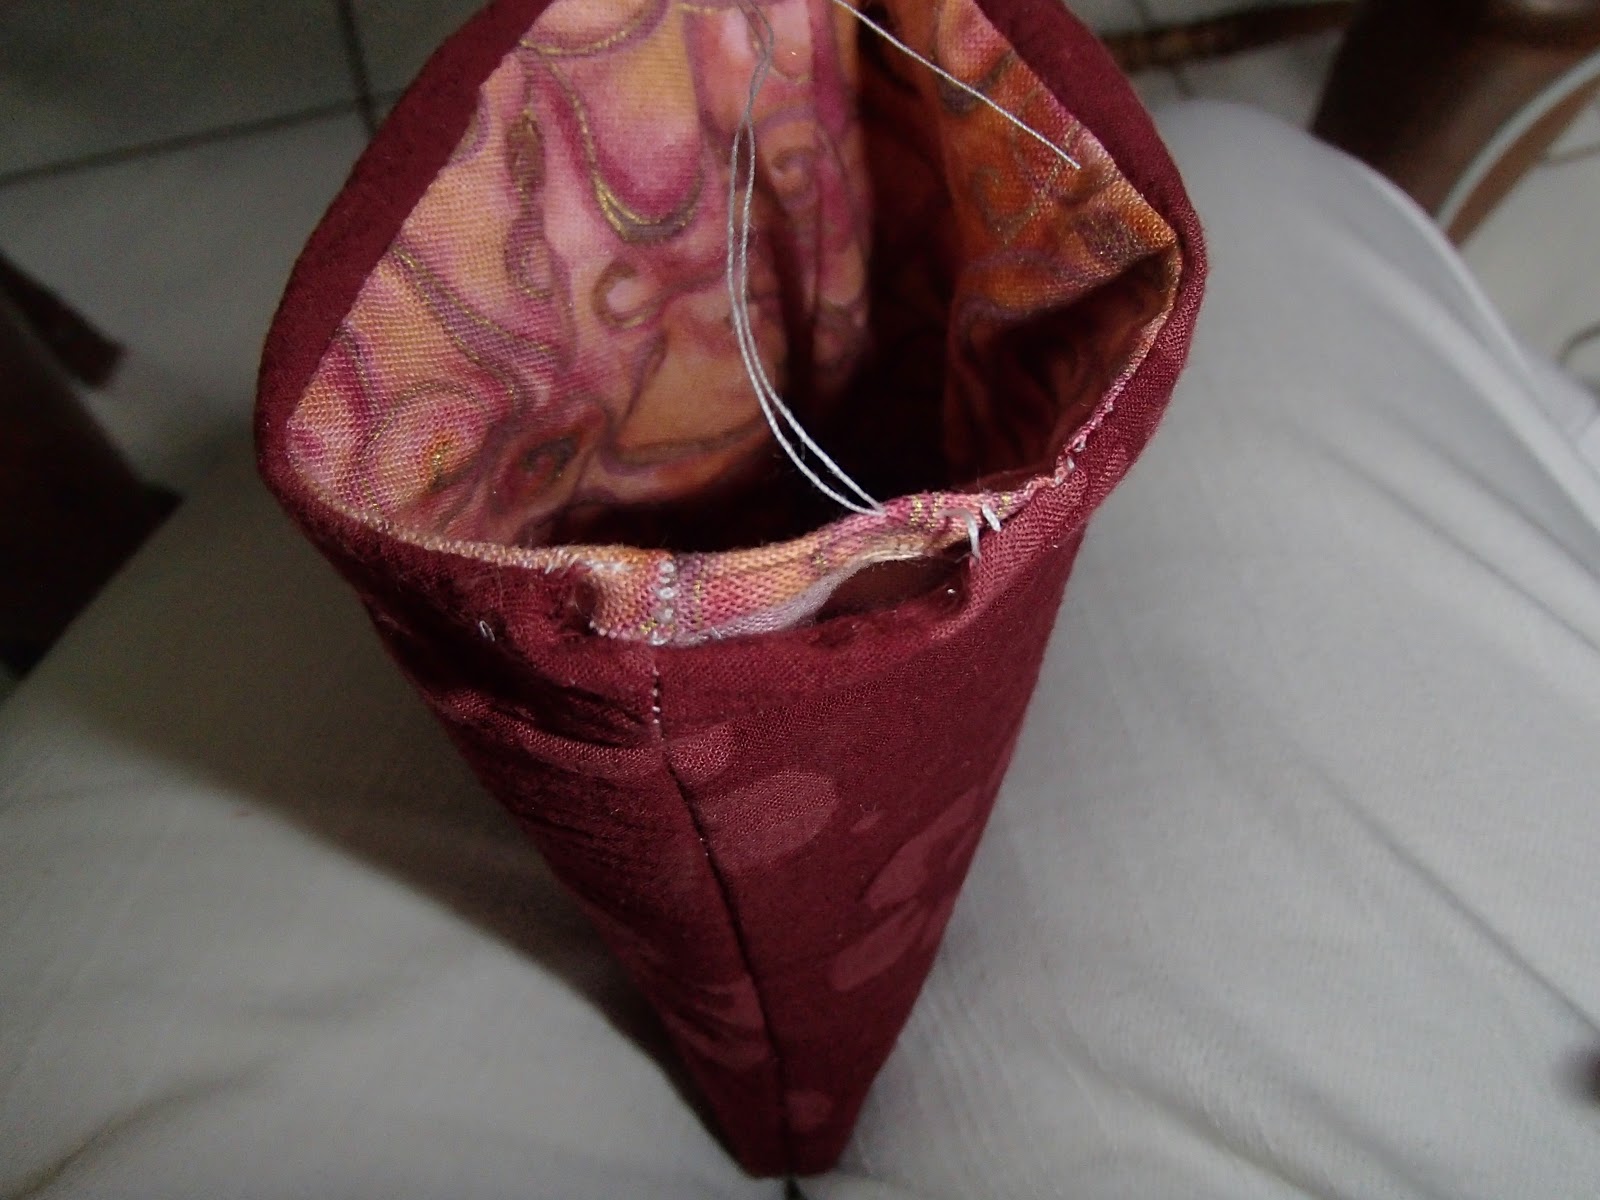
Step 9
Top stitch a line around the top of the bag just under the hole we left earlier for the cord or ribbon. You can also edge stitch around the top of the bag if you choose to.

Step 10
Use a safety pin to thread a ribbon or cord through the opening we left earlier.

Step 11
Tie a knot in the ribbon or cord.

Now put your camera in your bag and take it with you everywhere so you can capture amazing photos.


Saturday, 27 April 2013

Change of Pace.

I have been looking for a pattern for a sewing bag to put stuff in when I go to work on things with friends or I might even need it to go to a class on day. Today while I was dropping off the baby quilt top at Marci's Quilting Service I came across this pattern


It was nearly the size I wanted and had pockets both inside and out like I wanted. It was a little more complicated than I wanted with all the quilting and embellishments. So I slightly adjusted the size and simplified the pattern by just using two fabrics and this is what I ended up with


The pockets are big enough to hold my quilting ruler with ease or a pattern without squashing it and there are eight pockets on the outside and eight on the inside. There is also still plenty of room for all the other things I might need!


On A Roll

Two finishes in two days!!! On Thursday I finished the top for my secret project. Yesterday I finished this top


Once it is quilted this one is on the way to DH's cousin who recently had a baby. I hope she likes it.

Sunday, 14 April 2013

Still Working Away

I have been busy they last few days putting the sashings on my secret project. I ran out of one of the fabrics and had the darnedest time trying to find some more in town. Luckily I got on to some interstate, now I just have to wait for it to arrive. In the mean time I have been working on my 

item. It is getting close to finished too so I might just have time to make something else for it too.

Tuesday, 9 April 2013

Finally finished the blocks!

I got the cotton I needed to finish the last block today so I got stuck in and finished the blanket stitching on the block. Now I just need to finish the sashing and the appliqué on the sashing. The end really is in sight.


Monday, 8 April 2013

Five blocks now have sashing

I can really feel the finish getting close now. I do still have appliqué to do on some of the sashings which I still need to add to the remaining blocks. I can't wait to see it finished!


The Beginning of a new project

 So it’s been a while since I’ve posted anything but I thought I would pop in and show you my latest project. It’s a cute little dachshund b...